Eyeshadows can play a crucial role in makeup. However, you need to know how to use it correctly to lift and define your eyes. You need to trace the correct shape, add color in the crease, highlight the inner corner of the eye and blend well. Check out the step-by-step instructions in this article to level up your eyeshadow game from beginner to pro. Keep scrolling to get the step-by-step eye makeup guide!
Eyeshadow can add a lot of depth and dimension to your eyes. The key to applying eyeshadow correctly is to mix the colors well. Once you understand the basics, you can experiment with any look you like – be it smokey eyes, cut crease or glitter halo! Scroll down for a step-by-step guide to sharp eye makeup.
What you need
Eyeshadow primer
A nude eyeshadow
Medium brown eyeshadow
Burgundy eyeshadow
Fluffy eyeshadow brush for blending
Brown cabbage liner
False eyelashes
mascara
To start with a fresh and clean base, you first need to apply an eyeshadow primer to your lids. Prepping your lids is a must if you want your eye makeup to stay in place and last throughout the day.
Pro Tip: If you don’t have an eyeshadow primer, apply concealer. Add some translucent powder on top to create your own makeshift eye makeup primer.
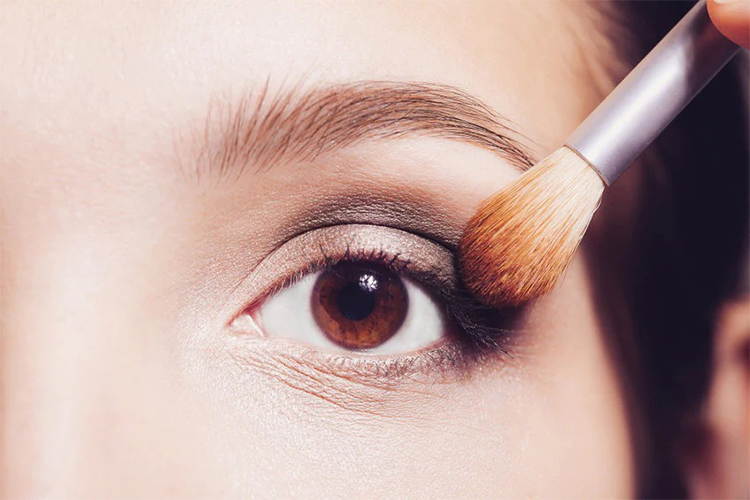
Using a fluffy eyeshadow brush, apply a nude eyeshadow that matches your skin tone and blend thoroughly. Tap off some of the excess product before applying to the eye. This step will help maximize the longevity and intensity of the colors you use in almost any look.

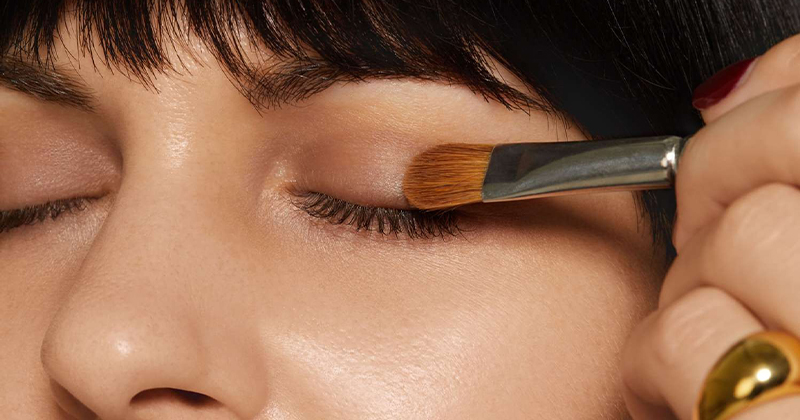
Using a fluffy blending brush, apply a medium brown eyeshadow to the crease. Apply some color to the lower lash line and blend the pigment well, especially towards the outer corners.
Pro tip: To line your eyes in the crease, always use a darker eyeshadow.
Apply a dark burgundy eyeshadow, concentrating the color only on the outer corners of the eyes. Apply gently beyond the crease for a smoky effect. Use the same color on the lower lash line too. A fluffy brush is best for fumigating the color while blending the shadow nicely.
Apply the nude eyeshadow you used in step two to your lids. Additionally, use the nude eyeshadow to blend out the edges of the burgundy eyeshadow for a softer effect.
Pro Tip: Using a nude eyeshadow is the easiest way to make your eyeshadow look super blended and clean.

Apply brown eyeliner to your waterline. Make sure you smudge it properly to get the gorgeous smoke effect.
For a more glamorous effect, you can add a pair of artificial accessories. Apply a thick coat of mascara to your lower lashes to even out the top and bottom.
Now get out your other cosmetics to complete the rest of your makeup! Do your foundation, add some bronzer, highlighter and nude lip color to complete the look.
And this is how you make your own eyeshadow. Stunning, right? This simple eyeshadow application technique is suitable for all types of looks – a fun and daring look, a party glitter eyeshadow look or a muted everyday look. The only difference in applying light and dark eyeshadow depends on eye shape, crease, and whether you have low or high eyebrows. It also depends on your skin tone and the color of your eyes.
If you have droopy eyelids (the eyelids are covered when you open your eyes), you may need to create the illusion of a larger eyelid with a higher crease. Here is a video on how to apply eyeshadow to droopy eyelids. Just look!